Sierra Nevada Pale Ale

One of the joys of going on vacation is to plunder the supermarket. You never know what’s to be found: honey filled candy in Italy, coop olive oil in Spain, beautiful broccoli in Belgium, premium vodka in Estonia. Cheddar is what we usually bring back from the UK, along with a smattering of crisps, boiled sweets and bourbon creams. This time we found a shocker. This bottle of beer took us more than 5000 miles and a decade and a half back home. I am getting all nostalgic just looking at the familiar green label.
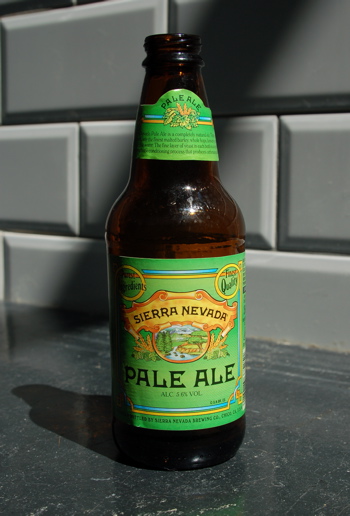
an empty bottle of Sierra Nevada Pale Ale
What was this bottle doing in a Tescos? And more importantly, had it travelled well and was it going to taste any good (YES, YES!!)?

We have a long personal history with Sierra Nevada Pale Ale. In the ’80’s we both went to university at CSU Chico, in Chico, California, where Sierra Nevada brews it’s beers. The first time I ran across it, it was some unknown local stuff, and I had turned my nose up at it without ever trying it. On most likely our first common beer run Patrick insisted we get some. I was hooked.

Patrick opened the first bottle from Tesco and carefully poured it into a glass. He had a sip and offered me one. And I sat there and sniffed it. Suddenly I was sitting on a hot summer day in a booth at Woodstock’s pizza with a pitcher between us. I was twenty-something. Patrick looks at me and wonders, is she going to take a sip and give me my beer back already? Finally, I have some, and as always I am smacked in the face with the hops. Yes, this is good.

Back when we lived in Chico, Patrick looked them up in the phone book, called them up and made an appointment, and a few days later we got to have a look around the brewery. Back then it was in some warehouse space out on the edge of town. It wasn’t much to look at, really not much more than an overgrown garage, but I remember green boxes and boxes and a keg we were invited to sample from to our heart’s content (and we remember this fondly over these many years).

In Chico, it was our beer of choice. In 1990, when we left, you could find it most places in California. On successive trips back to the States, we’d find it further and further afield, and of course now it is big, well known and loved, and has been for a while. It’s easy to say now that it was only a matter of time before we found it in Europe

Vertical Drinks is going to distribute it in Europe. Tesco has just started carrying it, which accounts for the freshness of the bottles they had. I am keeping my eyes out for it now in Amsterdam.

Chard Flakes

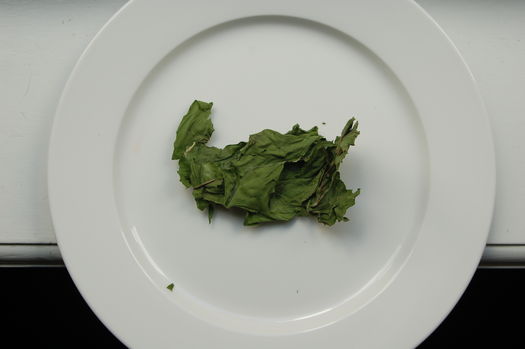
Swiss Chard Flakes

Okay, maybe it doesn’t make the most spectacular of pictures, but it’s a really good way of preserving Swiss Chard. This is just Swiss Chard that has been dried out in a dehydrator. No pre-treatment is necessary, just clean, chop and dehydrate. After it’s dried it can be packed into glass jars or other containers for long term storage.

It rehydrates almost instantly when it comes into contact with hot water, so it’s great for adding to things like instant soup, oven dishes or even just by itself. Because you don’t need to cook it before you dry it, like you would if you freeze it, it rehydrates tasting much fresher.

Spinach works the same way when you dehydrate it. I haven’t had much luck with cabbage this way, because the leaves tend to brown when they dry.

Pickles

It’s harvest time for our cucumbers. That means it’s time for homemade pickles!

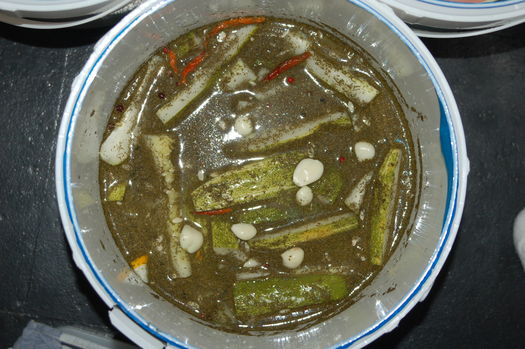
Cucumbers in Pickling Spices

These are our pickling cucumbers and garlic cloves floating in pickling spices.

Dehydrator

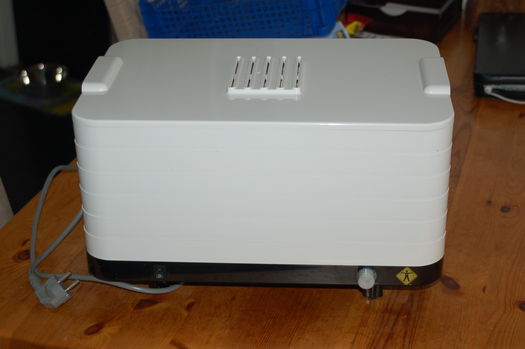
Food Dehydrator

Once you’ve grown food in your garden, one of the biggest challenges is finding a good way to preserve it. My two favorite ways are freezing and dehydrating. Since it’s spring, and I don’t have a lot growing in my garden to harvest at the moment, I decided to dehydrate a batch of ordinary mushrooms from the supermarket.

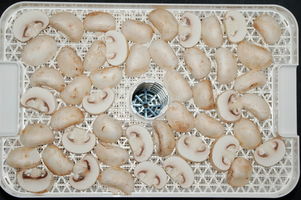
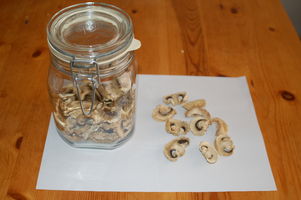
Here are the mushrooms before:

Mushrooms Before Dehydrating

And the same mushrooms after:

Mushrooms After Dehydrating

I used about 2.5Kg of medium sized (about 5cm in diameter) mushrooms, which yielded about 1 liter of dried mushrooms. I sliced each mushroom into 3 or 4 pieces.

For mushrooms there are two things in particular to watch out for, making sure they don’t rot while you are drying them and making sure they are completely dried out. Since mushrooms will rot in warm humid conditions, you need to keep the temperature of the dehydrator low at the beginning until the mushrooms dry out a bit, then you can turn it up. You should also use a brush to clean them rather than running water, so you have as little dampness in the dehydrator to begin with. Finally, you need to leave them in the dehydrator until they are crispy and brittle. Just drying them until they are leathery is not good enough. It’s a good idea to check them 24 hours after drying them, to make sure they are really dry all the way through.

When dehydrating any food, keep in mind that it will shrink a lot. Even after rehydrating it will not return to it’s full original size. Always be careful not to cut it into pieces that are too small.

While mushrooms don’t need any pre-treatment before drying, most foods do. Most vegetables need to be blanched in boiling water or steam. Most fruits need to be treated with ascorbic acid (vitamin C). Some foods need to be treated with sulphur. For those of you reading this who already freeze their own foods, the blanching required for freezing vegetables is usually the same as what’s required for dehydrating them. Pre-treatment instructions will almost certainly come with your dehydrator, and can also be found by searching the Internet.

Blanching takes a little personal judgement. Blanching instructions usually say to time it starting when the water returns to a full boil. Often they say to be sure to add the food to the boiling water slowly enough so that it keeps boiling. If for example you have a 2.5Kg sack of potatoes, you will have to add it very slowly to even the largest pot of water for the water to keep boiling. If you add them that slowly, the potatoes you put in first will be sufficiently blanched long before you have added the last of them. You just have to experiment in such situations. In general it’s better to add everything to the water in one go, and start timing when the water starts boiling again, even if it takes a while for this to happen.

Only dehydrate top quality foods. Whatever you put in the dehydrator should be blemish free, fresh and free of dirt.

As a rule, the way to rehydrate any vegetable is to soak in hot water for 30 minutes, then use as you would fresh vegetables. Some things don’t always need so long, and often dehydrated vegetables can be added directly when cooking things like soup. One of my favorite ways to use dehydrated vegetables is added directly to ramen (instant noodles).

Besides mushrooms, some things I dehydrated recently are:

Carrots: 4-5mm slices work best. No pre-treatment is necessary. Grating them also works, but remember they will shrink a lot, so try to grate them as coarsely as possible.

Celeriac: 4-5mm slices work best. Blanch for about 3 minutes in boiling water or steam. Allow ample time for rehydration.

Potatoes: 4-5 mm slices. Blanch for 5 minutes in boiling water. Allow ample time for rehydration.

Onions: 4-5mm slices. No pretreatment necessary.

Green Beans: Cleaned and cut like normal. Blanch 3 minutes. You may have to experiment to get the blanching time right, it’s easy to over cook them.

Apples: Core and slice. Soak in a mixture of 1/4 tsp ascorbic acid and 250ml water (1 cup) for a few minutes before dehydrating. Limited shelf life.

Coffee

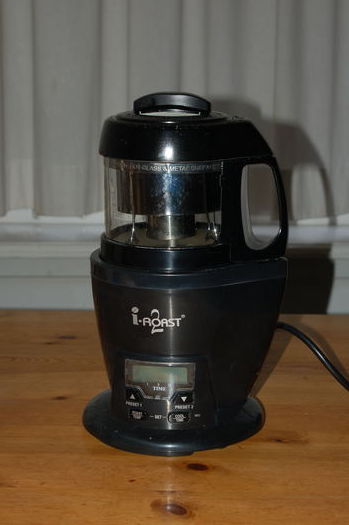
Coffee Roaster

Why roast your own coffee, and what does this have to do with heirloom gardening? Good question!

More than 95% of coffee in the world is consumed stale. Coffee stays fresh about 2 weeks after roasting and 3 days after grinding. Green coffee beans on the other hand will retain their quality for a few years at least. Since many of us don’t have easy access to good quality fresh roasted coffee, roasting your own is a good alternative. Roasting a batch of coffee takes about 15 minutes, and is easy to do once you get the hang of it.

There was a time when all coffee was grown in the shade of trees. Because of the climate required for coffee, this usually meant it was grown in rainforests. This turned out to be a win-win situation for both farmers and the rainforests, because growing coffee did little damage to the environment and was economically sustainable. Since coffee is the most valuable commodity in the world after oil, it was easy for the farmer to make a fair profit. Farmers could also operate independently, because the original coffee plants were old varieties, free from intellectual property rights and needed little in the way of chemical sprays or fertilizers. Growing coffee resulted in near 100% profit for the farmers, and in a bad year the worst that happened was they didn’t make any money.

Then everything changed. Along came a new variety of coffee, an F1 hybrid, that could tolerate direct sunlight. In addition the yields of this type of coffee were much higher than the older varieties. Since this new type of coffee was a patented hybrid, it meant the farmers had to purchase the seeds instead of saving their own. In addition the plants required full sun, so couldn’t be grown in the shade of trees anymore, and it required the use of chemical sprays and fertilizers which were also patented.

For the coffee farmers, it was an opportunity to make more money, or so it seemed. By growing this new type of coffee, with possibly double or triple yields when compared with their older varieties of coffee, their higher profits more than made up for the additional costs. For many farmers the need for direct sunlight was also an easy problem to solve, by simply cutting their rainforests down.

Suddenly the world’s coffee markets became flooded with this new kind of coffee. Prices fell, and the increased yields were no longer enough to make up for the extra costs of the new coffee. Suddenly farmers found themselves not only unable to make a living wage growing coffee, but having to pay royalties on their seeds, pesticides and fertilizers just to keep their farms alive. The only farmers who could survive were the ones who could expand fast enough to grow even more, and flood the already saturated world markets with still more coffee. Suddenly there was no going back to the old ways of growing coffee.

Yes, it’s true. You can make a difference by buying Fair Trade coffee, but that only addresses part of the problem. By roasting your own coffee it is a little easier to buy shade grown coffee as direct as possible from coffee plantations or cooperatives. If you are on holiday in a coffee growing region of the world, you can buy the coffee at it’s source knowing it will last several years after you bring it home. Being able to roast your own coffee offers more possibilities to buy coffee over the Internet, from the right kinds of places.

If you have easy access to fresh roasted socially responsible coffee, having a coffee roaster may not change much. If not, and you drink a lot of coffee, it might be worth considering. If for no other reason, drinking fresh coffee instead of stale coffee makes a big difference!